Cloudflare Tunnels (Frigate & MQTT)
This guide shows a reliable way to expose:
- Frigate at
https://nvr.example.com - MQTT over WebSockets at
wss://mqtt.example.com
…without requiring a VPN.
It also covers the most important hardening step: Cloudflare Access with a Service Token, which Viewu can send as headers.
If you only need private remote access for your own devices, Tailscale is usually simpler. Cloudflare Tunnel is best when you want “works anywhere” access without a VPN.
Quick start (Pattern A: tunnel directly to Frigate + Mosquitto)
This is the most common configuration and the one this page optimizes for.
What you will end up with
nvr.example.com→ Cloudflare Tunnel → http://127.0.0.1:5000 (Frigate)mqtt.example.com→ Cloudflare Tunnel → http://127.0.0.1:9001 (Mosquitto WebSockets)- Both hostnames protected by Cloudflare Access (Service Token)
Minimal checklist (do these in order)
- Confirm Frigate works locally:
curl http://127.0.0.1:5000/api/version
- Enable Mosquitto WebSockets (port
9001): - Install
cloudflaredon the same machine when possible - Create a tunnel and configure ingress routes for
nvr.example.comandmqtt.example.com - Confirm DNS records exist for both hostnames
- Create Cloudflare Access Applications for both hostnames
- Create a Service Token and allow it in policies
- Verify with
curl(Frigate + MQTT handshake) - Configure Viewu (NVR + MQTT + headers)
- Re-test and only then start debugging the app
Common trap: people configure Cloudflare correctly but skip the local verification step. If your local origin services are not correct, Cloudflare will only hide the problem behind “502” and timeouts.
Step 0: Two concepts to keep straight (plain English)
Cloudflare Tunnel
- Runs an agent (
cloudflared) on your network - Creates outbound connections to Cloudflare
- Lets Cloudflare forward requests to your internal services
Cloudflare Access
- Adds an authentication/authorization layer in front of a hostname
- For automation (apps), you typically use a Service Token
- Viewu sends that Service Token via headers so requests can be allowed without an interactive login
Step 1: Configure Mosquitto for WebSockets
Cloudflare Tunnel supports WebSockets, but Mosquitto must listen on a WebSockets port.
On the Mosquitto host, add a listener (example port 9001).
Create or edit a config file (common location: /etc/mosquitto/conf.d/websockets.conf):
listener 9001 0.0.0.0
protocol websockets
allow_anonymous false
password_file /etc/mosquitto/passwd
Restart Mosquitto:
sudo systemctl restart mosquitto
sudo systemctl status mosquitto --no-pager
Tip: Run
cloudflaredon the same machine as Mosquitto when possible. It reduces networking surprises and lets you use127.0.0.1as the tunnel origin.
Step 2: Create the Cloudflare Tunnel
In Cloudflare Dashboard:
- Go to Zero Trust → Access → Tunnels (or Network → Tunnels depending on UI).
- Click Create a tunnel.
- Name it (example:
viewu-home). - Follow the install instructions for your platform.
On Linux you typically end up with a service like:
sudo systemctl status cloudflared --no-pagerStep 3: Add tunnel routes (Ingress)
You can configure routes in the dashboard or via a config.yml. A config file is easier to audit and repeat.
Example config.yml
tunnel: <YOUR_TUNNEL_ID>
credentials-file: /etc/cloudflared/<YOUR_TUNNEL_ID>.json

ingress:
  - hostname: nvr.example.com
    service: http://127.0.0.1:5000

  - hostname: mqtt.example.com
    service: http://127.0.0.1:9001

  - service: http_status:404
Critical detail: the origin service should be HTTP (not HTTPS, not TCP). Cloudflare terminates TLS at the edge and forwards to your origin over plain HTTP.
Common trap: If you configure a TCP tunnel for MQTT, WebSockets will not work and clients often fail with opaque connection errors.
Restart cloudflared after changing config:
sudo systemctl restart cloudflaredStep 4: Add/confirm DNS records
Cloudflare usually offers a “Route traffic” step that creates the DNS entries for you.
Confirm you have DNS records for:
nvr.example.commqtt.example.com
They typically show as CNAMEs pointing at the tunnel address.
Step 5: Lock it down with Cloudflare Access (recommended)
If you leave these hostnames public without Access, anyone who guesses the hostname can attempt to reach them.
A good baseline:
- Create an Access Application for
nvr.example.com - Create an Access Application for
mqtt.example.com - Create a Service Token
- Add a policy rule like “Service Token is allowed”
What Viewu needs
When Access is enabled, Viewu must send these headers:
CF-Access-Client-Id: <service-token-client-id>CF-Access-Client-Secret: <service-token-client-secret>
Set them in Viewu under:
- Settings → NVR (for
nvr.example.com) - Settings → MQTT (for
mqtt.example.com) if MQTT is protected too
Step 6: Verify with curl (save yourself hours)
Do not skip this. If curl fails, the app will fail too.
6.1 Verify Frigate via Cloudflare
Without Access:
curl -i https://nvr.example.com/api/versionWith Access enabled:
curl -i \
  -H "CF-Access-Client-Id: <id>" \
  -H "CF-Access-Client-Secret: <secret>" \
  https://nvr.example.com/api/version
Success looks like:
HTTP/2 200(orHTTP/1.1 200)- Version JSON in the response body
6.2 Verify MQTT WebSockets handshake
If your broker expects the WebSockets endpoint at /mqtt, test:
curl -i --http1.1 \
  -H "Connection: Upgrade" \
  -H "Upgrade: websocket" \
  -H "Sec-WebSocket-Version: 13" \
  -H "Sec-WebSocket-Key: dGhlIHNhbXBsZSBub25jZQ==" \
  -H "Sec-WebSocket-Protocol: mqtt" \
  -H "CF-Access-Client-Id: <id>" \
  -H "CF-Access-Client-Secret: <secret>" \
  https://mqtt.example.com/mqtt
Success looks like:
HTTP/1.1 101 Switching Protocols
Tip: Some setups use
/instead of/mqtt. If/mqttfails, tryhttps://mqtt.example.com/and confirm what your client expects.
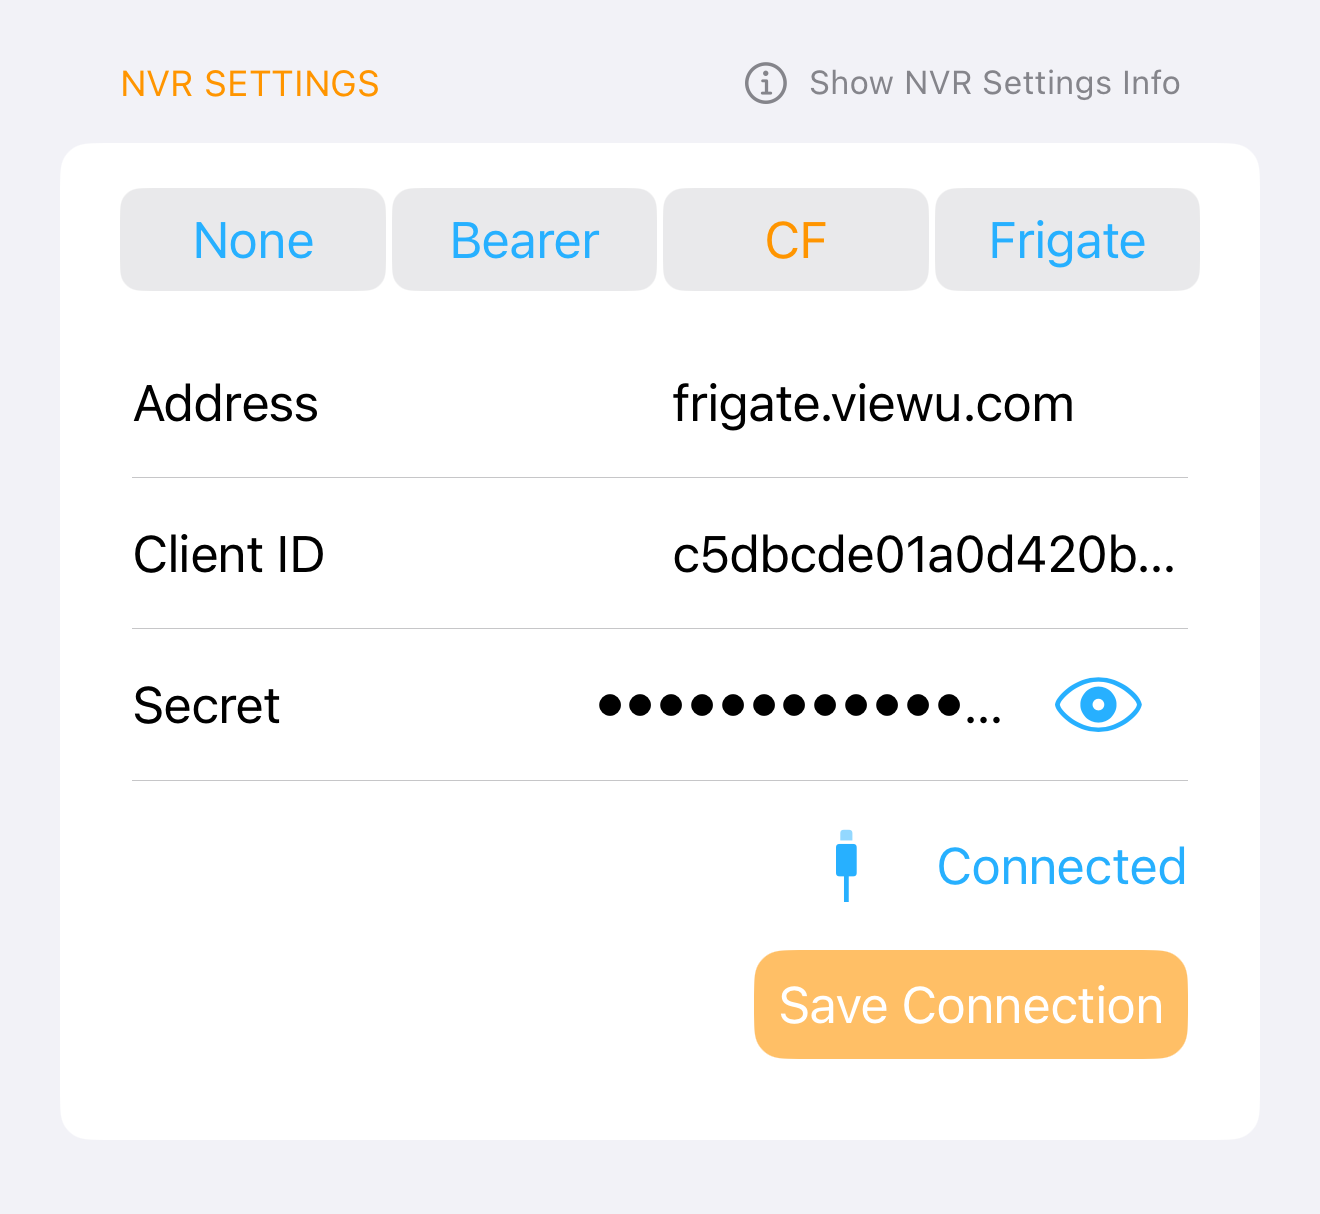
Step 7: Configure Viewu
NVR settings
- URL:
https://nvr.example.com - If Access is enabled: set the Client ID/Secret headers
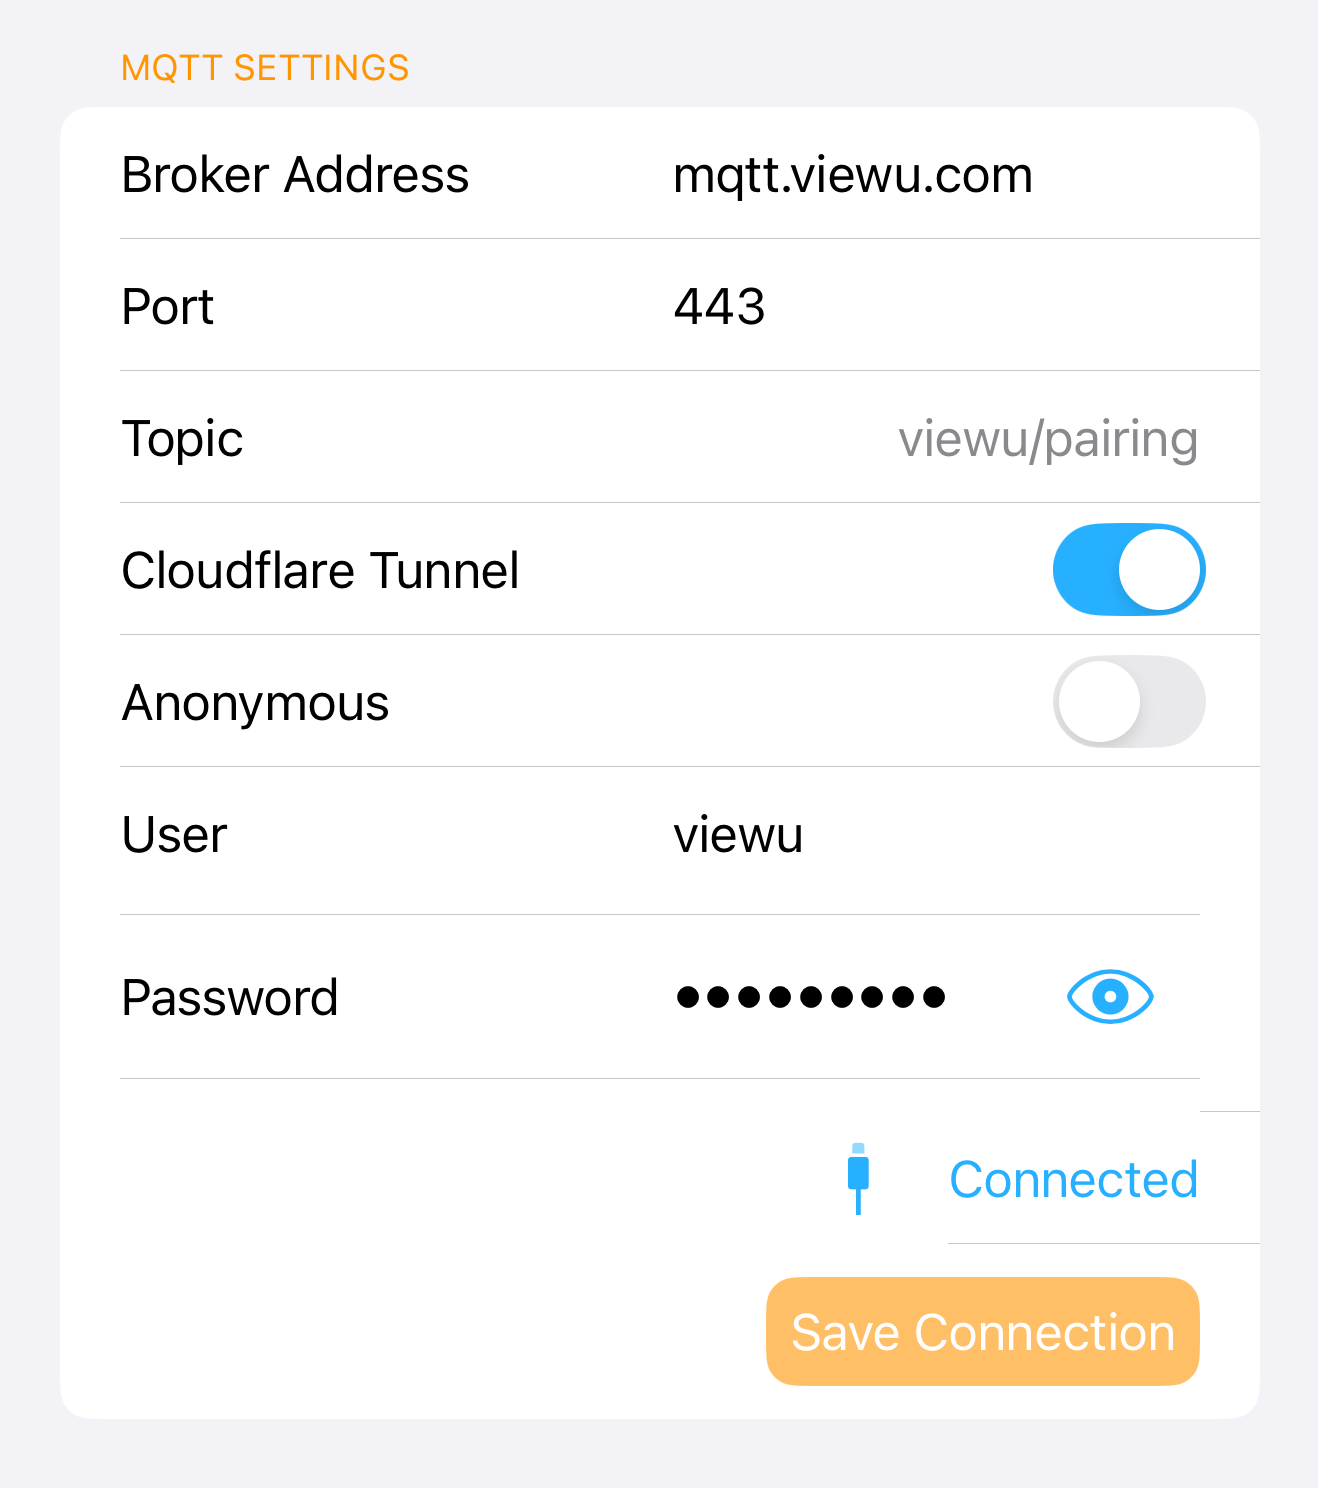
MQTT settings
- Host:
mqtt.example.com - Use WSS (WebSockets over TLS)
- If Access is enabled: set the same headers
Troubleshooting (most common mistakes)
“WebSocket won’t connect”
Most common causes:
- You used a TCP tunnel instead of an HTTP tunnel.
- You pointed the tunnel origin at https:// instead of http://.
- Mosquitto is not actually listening with
protocol websockets.
Quick checks:
- Confirm Mosquitto is listening on 9001:
ss -lntp | grep 9001(Linux)
- Confirm the Cloudflare ingress origin is
http://127.0.0.1:9001 - Confirm the
curlhandshake returns101 Switching Protocols
“Frigate works but snapshots don’t show in notifications”
Likely causes:
- The snapshot URL isn’t reachable from the phone at notification time (VPN not connected, DNS not reachable off-LAN).
- Access is enabled but the snapshot request is missing headers.
- A self-signed certificate exists somewhere in the chain.
Quick checks:
- Test the snapshot URL in Safari on cellular (not Wi‑Fi).
- If Access is enabled, confirm Viewu has the Service Token headers set for the NVR host.
“It worked once, then broke”
Likely causes:
- Cloudflare Access token was rotated or pasted incorrectly
- You updated tunnel config and did not restart
cloudflared - You changed Mosquitto config and did not restart Mosquitto
Quick fix pattern:
- Re-enter headers in Viewu, save, and re-test
- Restart services:
sudo systemctl restart cloudflaredsudo systemctl restart mosquitto